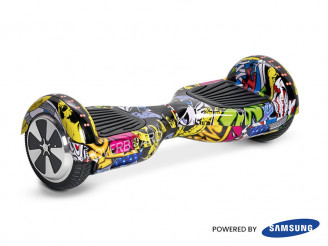
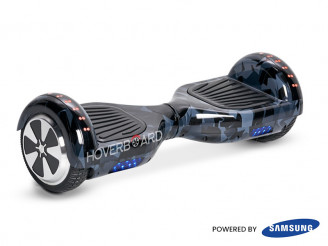
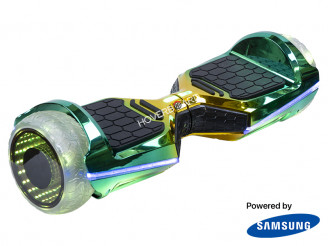
Eager to enjoy the thrill and liberty of your hoverboard? Before embarking on your next seamless journey, ensuring your device is sufficiently powered is crucial. Properly charging your hoverboard is not only about preparing it for use; it is also essential for preserving the battery's health and extending its lifespan. This easy-to-follow guide will lead you through the straightforward steps to keep your hoverboard charged and ready for action.
What You'll Need to Begin:
The great news is that charging your hoverboard is a fairly uncomplicated task. Generally, your device will come with all the necessary components:
- The Power Adapter: This is the "brick" that connects to the wall outlet.
- The Charging Cable: This cable links the power adapter to your hoverboard.
The Easy Steps to Charging a Hoverboard:
- Turn Off First: Prior to initiating the hoverboard charging procedure, always make sure your hoverboard is completely powered down. Attempting to charge it while it remains active can sometimes disrupt the charging cycle and may not be as effective.
- Find the Charging Port: Examine your hoverboard. The charging port is typically a small, circular opening found on the underside or at the back of the device.
- Attach the Charging Cable: Gently insert the charging cable into the hoverboard's charging port. Ensure it is snug and secure. Avoid forcing it, as this could harm the port.
- Connect to the Wall Outlet: After the charging cable is securely attached to your hoverboard, plug the opposite end (the power adapter) into a standard electrical wall outlet.
- Monitor the Indicator Lights: Most hoverboard chargers come with indicator lights that offer real-time updates on the charging status. While the details may vary slightly between different models, here's a general overview:
- A red light generally signifies that the hoverboard is in the midst of charging.
- A green light usually signals that the battery is fully charged and ready for use. Some chargers may show an amber or orange light during the final phase of charging.
- Ensure Adequate Charging Duration: The time required to fully charge your hoverboard depends on factors such as battery capacity and its initial charge level. It's advisable to refer to your hoverboard's user manual for the manufacturer's suggested charging duration. For the initial charge, it's typically wise to allow it to charge completely. Resist the urge to unplug it too soon. Once the indicator light turns green, it is generally safe to disconnect.
- Disconnect Safely: After charging is complete (as indicated by the green light), first unplug the power adapter from the wall outlet. Then, carefully remove the charging cable from your hoverboard.
Key Tips for Optimal Charging:
- Stick with the Original Charger: Always opt for the charger specifically crafted for your hoverboard. Utilising a different charger might harm the battery or even create a safety risk.
- Charge in a Suitable Environment: Select a cool, dry, and well-ventilated space for charging your hoverboard. Steer clear of charging it near flammable items or in direct sunlight or extreme temperatures.
- Avoid Overcharging: Although many modern chargers come with built-in protection circuits, it's still wise not to leave your hoverboard plugged in for too long after it's fully charged. Once the green light is on, it's generally safe to disconnect it.
- Regular Charging is Key: Even if your hoverboard isn't in daily use, it's advisable to charge it periodically to preserve the battery's health. Allowing the battery to completely drain too often can reduce its lifespan.
- Pay Attention to Warning Signals: If you observe any unusual lights flashing on your hoverboard during or after charging, or if the charger becomes excessively hot, unplug it immediately and refer to your user manual for troubleshooting or reach out to the manufacturer.
By adhering to these straightforward steps and remembering these suggestions, you can guarantee your hoverboard remains charged and prepared to offer you endless enjoyment and seamless cruising. Enjoy your ride!


